Gravity Bugs Free-Climbing MicroBot Lets Children Learn Through Experimentation

What are Gravity Bugs?
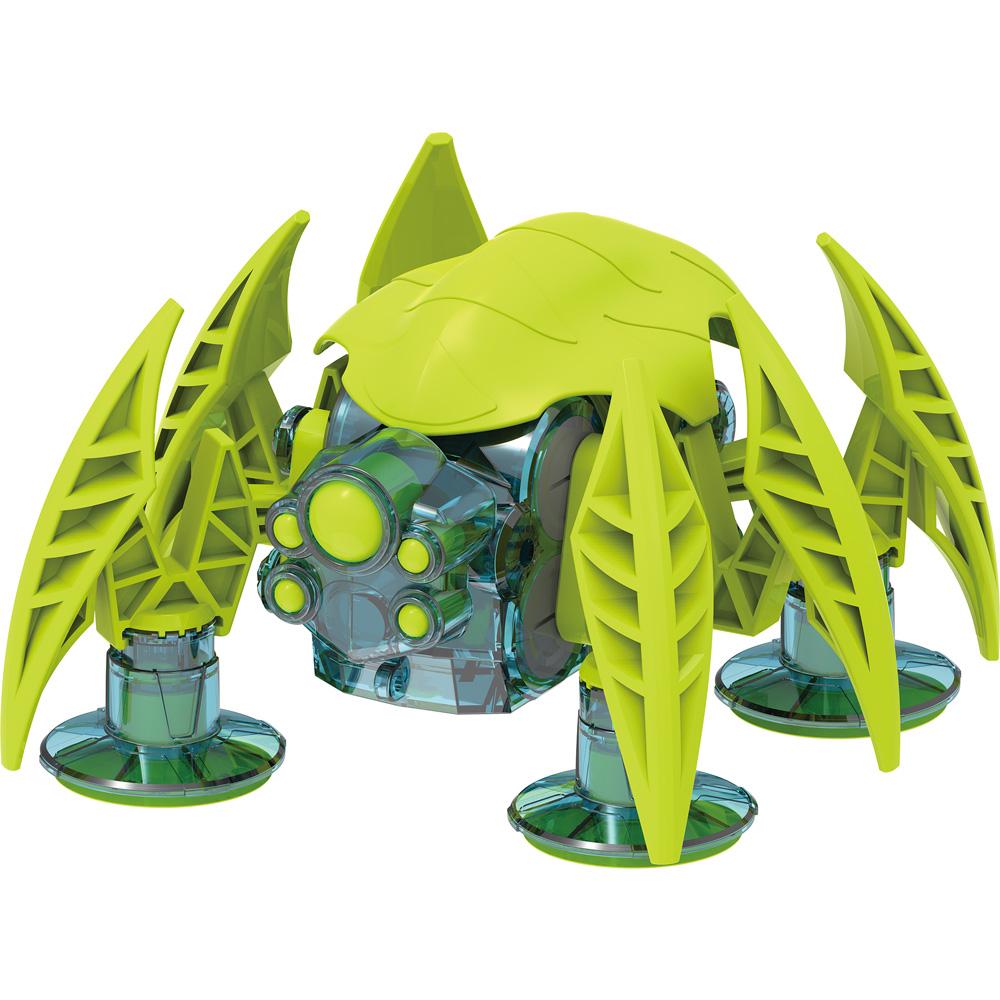
The Gravity Bugs Free-Climbing MicroBot lets you build a mighty robotic bug that defies gravity as it crawls up, down, and all around smooth vertical surfaces like windows, mirrors, and glossy panels. This motorized, multi-legged machine uses an ingenious system of suction cups to achieve this feat. As you assemble the robot you learn about its inner mechanisms, including gears and an electric circuit complete with motor, battery, and switch. Then follow the five included experiments to see which types of surfaces your Gravity Bug can climb best while learning while learning about air pressure and how suction cups work.
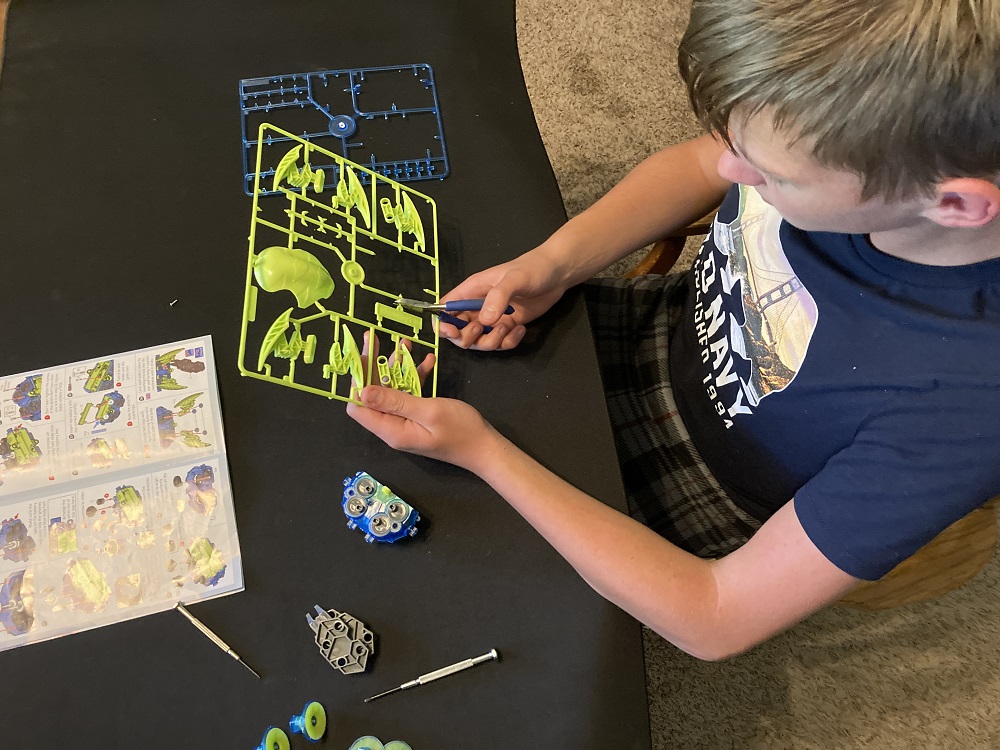
Gravity Bugs feature third-generation wall-walking technology with advanced suction-cup design and are designed for ages 8 and up. Children 8–11 new to this type of product may need the help of an adult or older child for using cutting tools to prepare parts for assembly. The Gravity Bugs Free-Climbing MicroBot sells for $19.95 and can be purchased from Target. It can also be purchased directly from Thames & Kosmos.
What’s in the Box?
Gravity Bugs Free-Climbing MicroBot includes the following items:
- Blue plastic frame (parts 1-8)
- Gray plastic frame (parts 9-15, P5)
- Green plastic frame (parts 16-23)
- Motor and switch circuit
- 3 metal rods (1 short, 2 long)
- 4 White gears
- 8 Screws
- 8-panel, full-color manual

In addition to the parts included, you will need one AAA battery, a small Phillips head screwdriver, a diagonal cutter or scissors, and a smooth surface for climbing such as a window or mirror. The parts on the three frames have numbers near them for easy identification during assembly. It is recommended to not remove the parts until specifically called for in the instructions.

Building and Experimenting with Gravity Bugs
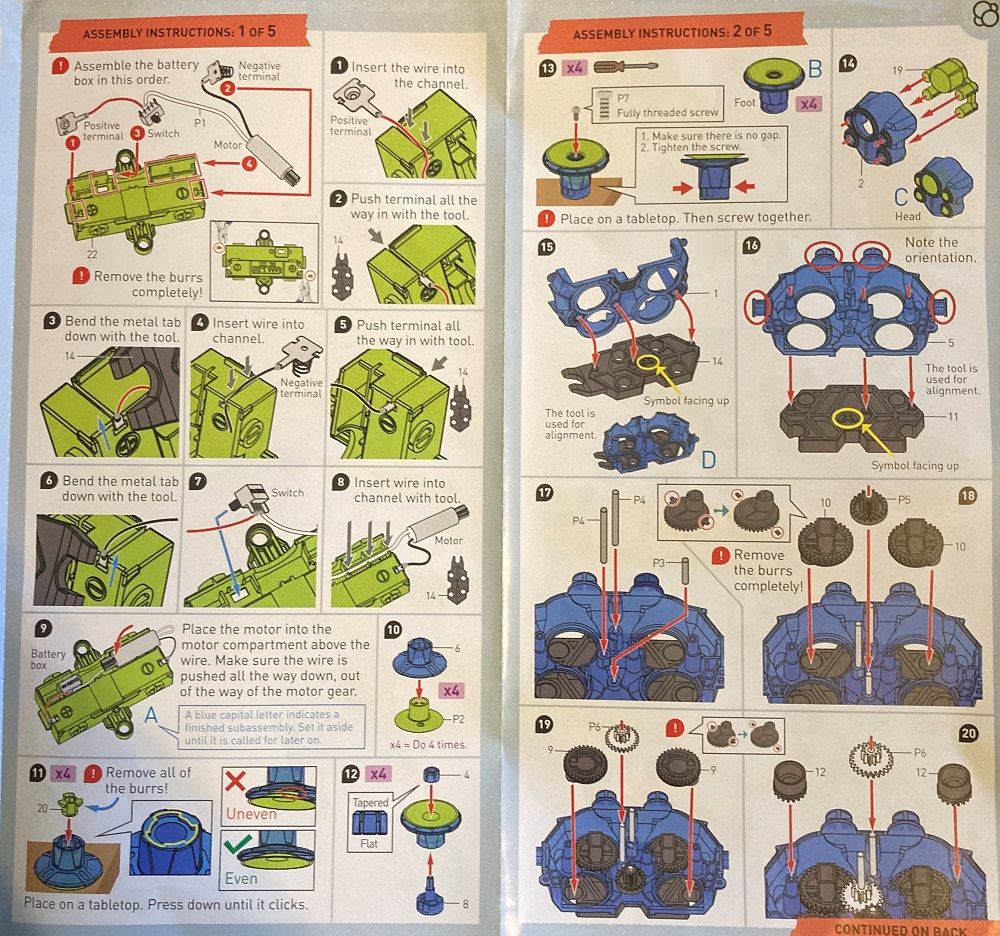
Gravity Bugs is not a construction set or model. Instead, it is a STEM experiment kit. As such, the process of building the robot is just as important as the final product. The 8-panel, full color manual guides builders with easy to follow, step-by-step illustrated instructions. A QR code is also included that links to a video with extra-detailed assembly instructions. Since most of the parts are attached to plastic frames, a diagonal cutter or pair of scissors is necessary to remove them so as not to break or deform them. Then use the tool to remove any remaining burrs on the parts. This is especially important for the gray gears and parts connected to the suction cups since you want these parts to fit exactly. In fact, if you don’t follow these tips as you go, you may have to take apart the robot later to get rid of those burrs.

As you assemble the parts to create the robot, you can learn by testing out the individual suction cup assemblies. Installing the pieces of the motor circuit into the battery box provides experience with electrical circuits. You can also experiment with gear reduction as you add gears one at a time and see how each additional gear turns slower than the one below it. Since the gears that attach to the legs must be aligned with exactness to perform a walking motion, the kit includes two tools to ensure you get these parts positioned correctly. After installing all the gears and inner workings, three screws attach the two sides of the robot body together. Add the legs and suction cup feet as well as the head and shell and you are ready to start experimenting.

Once your Gravity Bug is assembled, you are ready to test it out. Start off by just having it walk across a table. If this does not work, you will need to take it apart and check the inner workings. Here is where experimentation continues as you troubleshoot. Are the gears correctly aligned and are there any burrs that can cause additional friction? The robot is powered by a small electrical motor that runs on a single 1.5 volt battery, so it does not take much friction to bring it to a stop. Luckily, the instruction manual includes a QR code with a link to a video on how to troubleshoot problems. For example, you may need to use a very small amount of olive oil to lubricate the gears where they rub against the body. The video shows you how to do this. Another area that may need some fine tuning are the suction cups. There are several things to check to ensure they work correctly. The key is to not get frustrated. It is all part of the process where you learn as you experiment with various changes. Once again, the troubleshooting video comes in handy here.
Eventually, once you get everything working properly, your Gravity Bug is ready to climb a vertical surface. Ensure that both the suction cups and the surface is clean. You may want to keep a hand under the Gravity Bug as it is climbing just in case it falls.
Why You Should Get Gravity Bugs

As a teacher, I have seen the importance of STEM as a part of students’ education. Not only do I teach computer science classes, but have also incorporated STEM into my curriculum for my science classes for students with learning disabilities. Project-based activities provide authentic learning opportunities as children have to build something and then use it. In fact, when something does not work correctly the first time, the troubleshooting process further increases the educational experience. The skills taught through STEM can be used throughout one’s life whether in a science related career or not.
I am impressed with the Gravity Bugs. My son and I had a fun time building it. I took the opportunity to teach physics concepts along the way. As we assembled the suction cup feet, we tried them out on a mirror and I explained how a suction cup works. When we got to the part where we were installing gears, we talked about gear ratios and how gear reduction not only slows down the rotation, but increases the torque or rotational force. Once we installed the legs, we tried to determine how the robot releases the suction in order to pick up its foot and then place it back down. Despite our best efforts, we had to do some troubleshooting. We found the video very helpful here. While some children can use this experiment kit on their own, I found it a great activity to be shared between a parent and a child. I recommend Gravity Bugs as an entertaining and educational product that helps teach not only STEM but also problem solving and life skills.
For more information, check out the Gravity Bugs Free-Climbing Micro-Bot webpage.
Disclosure: This post was sponsored by Thames & Kosmos.
Click through to read all of "Gravity Bugs Free-Climbing MicroBot Lets Children Learn Through Experimentation" at GeekDad.If you value content from GeekDad, please support us via Patreon or use this link to shop at Amazon. Thanks!
