
Seam finishes for the Tasi Robe and Jacket
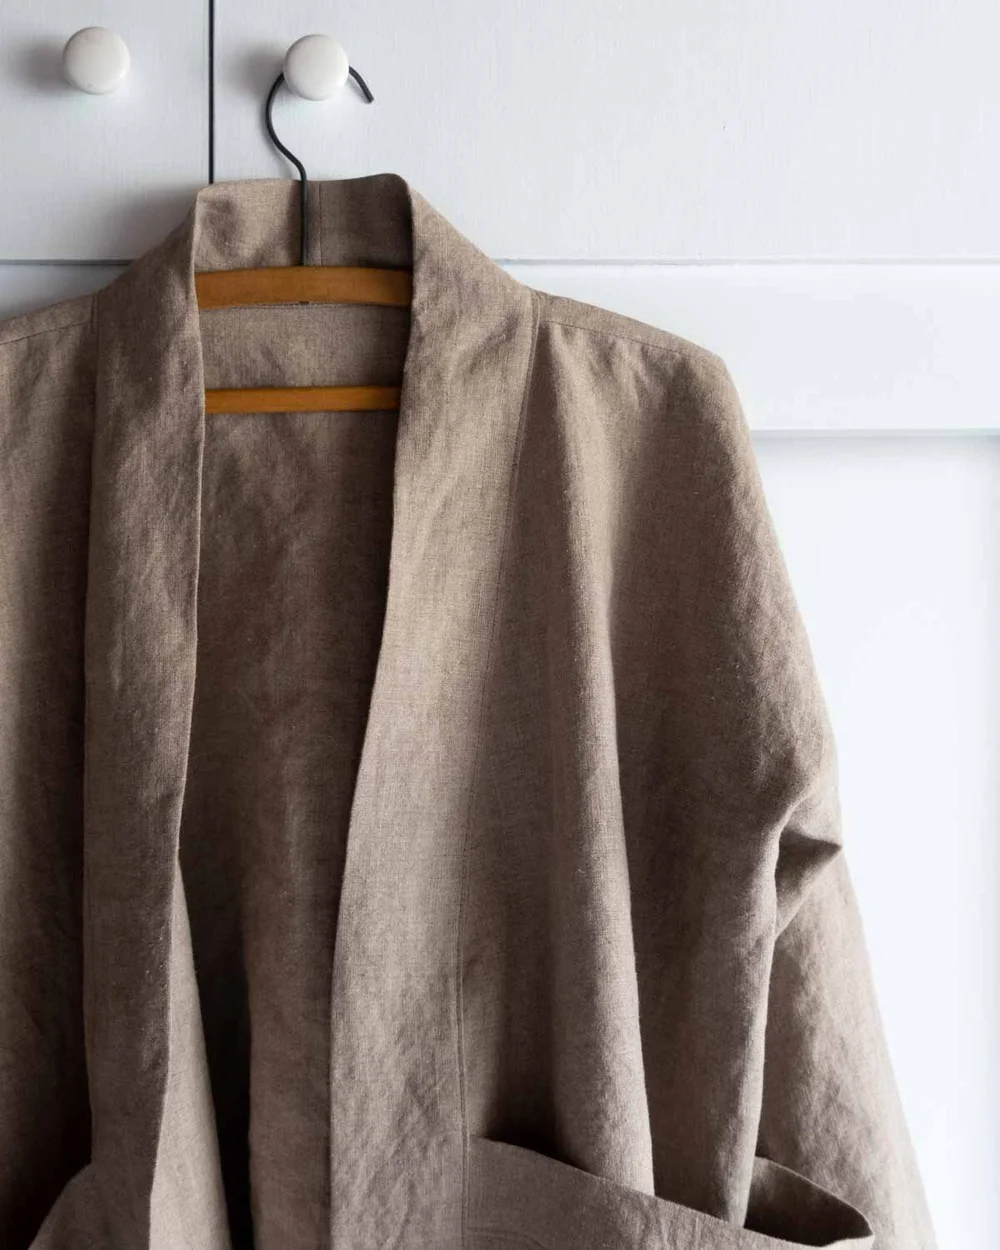
One of my intentions with my new Tasi Robe or Jacket pattern was to create a garment that embraces the ethos of slow sewing. When appropriate I recommend doing hand finishes and today, I’ll be sharing tips for finishing your Tasi with French seams or a Hong Kong finish. Both methods take more time but they create a really beautiful finish. The one big-ish challenge with using these finishes on the Tasi is the right angle of the underarm seam. But, I've figured out some modifications to make these techniques work for this pattern and minimize any bulk at the underarm.
These methods are not appropriate for all fabric. I recommend using French seams when sewing lightweight fabrics like rayon, cotton or silk. Generally, these would be used for the robe, view A. The jacket (view B) works well when sewn in medium to heavy weight fabrics which makes it a great opportunity for using the Hong Kong finish. To learn more about my fabric recommendations for these patterns, check out this blog post. Let’s get started!
How to use French Seams for the Tasi Robe/Jacket
The only tricky part of sewing french seams with the Tasi Robe and Jacket is the join at the underarm. The easiest method to reduce the bulk at the underarm, is to trim away some of the seam allowance from the front and back side seam below the sleeve. Then proceed as normal. That method totally works but it creates a little bit of bunching at the underarm. To remedy that, I’ve devised a slightly more complicated method. Read on to learn how. If you’ve never sewn a French seam before, I recommend checking out this video tutorial.
NOTE: For this tutorial, I’m using a 1/2” seam allowance. For the French seam, I’m first stitching 1/4” with wrong sides together and then 1/4” with right sides together.
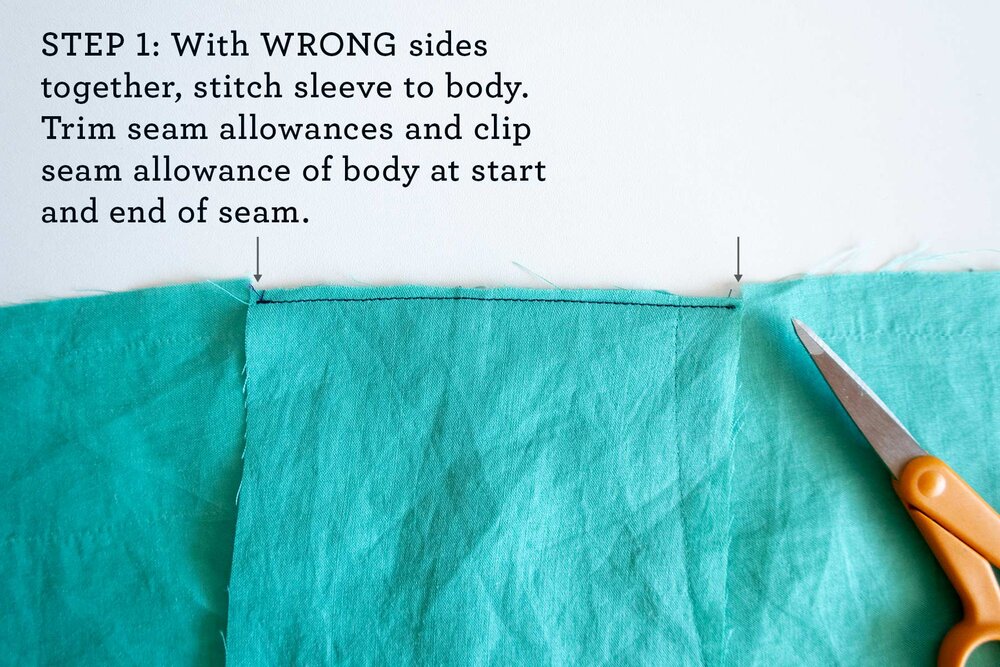
Step 1: Attach the sleeves to the body using french seams. Trim seam allowances and clip the seam allowance of the body at the end of each seam.

Step 2: Press seam allowance open and then press sleeve andbody right sides together. Stitch.

Step 3: Trim away 1/4” of the side seam from the front and back. Don’t trim anything from the sleeve piece.
Note, this step is important to reducing bulk. Trimming away some of the front and back moves the position of the side seam away from the sleeve seam so that you won’t have extra bulk at the pivot point of the underarm.

STEP 4: On right side, use a washable marker to mark pivot points 1/4” (A) and 1/2” (B) from the underarm corner. With WRONG sides together, pin underarm seam. Stitch from sleeve hem towards underarm. Pivot just before you get to point A. Pivot and stitch to point B. Lift the presser foot and pivot. Stitch back to just outside the point A. Pivot and stitch to the hem.
Note: In this step you want to stitch just outside of point A so that you have enough room to clip into the seam allowance.

Step 5: Clip to point B but do not cut through the stitching.
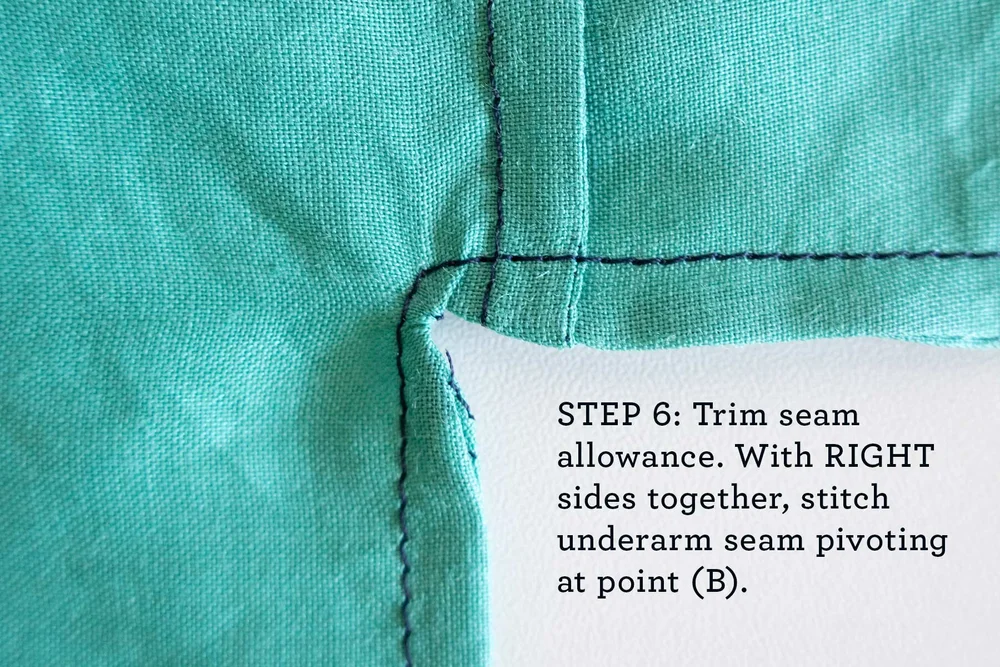
Step 6: Trim the seam allowance. With RIGHT sides together, stitch underarm seam pivoting at point (B). Turn right sides together and press. Stitch from the sleeve hem to the 1/2” pivot mark. Keeping the needle down, lift the presser foot and pivot the garment 90 degrees. Stitch to the hem.
The inside of your garment should look like the above. The angled stitches we did on the first pass of the French seam finishes the edge, reduces bulk and allows freedom of movement at the corner point. I have to give credit to the Long Island Sewing Teacher and her blog post for sewing French seams on a side vent, for inspiring me to devise this method. You can definitely skip the angled stitching and the pivoting and it will work, it just won’t be quite as flat when turned right side out.
Tips for sewing Hong Kong finish with the Tasi Jacket
The Hong Kong finish is a method of finishing the seam allowance with bias tape. It works well for heavy weight fabrics and creates a really beautiful finish on the inside of a garment. If you’re not familiar with this finish, check out this video tutorial for the basics.
To reduce the bulk at the underarm where the sleeve joins the body, we’ll need to finish some of the seams before stitching them. The drawback to this, is that it will be more challenging to stitch a perfectly accurate seam allowance because the bias tape makes the fabric a little bigger than it was originally. Because the fit of the Tasi is oversized, if you stitch a slightly smaller or larger seam allowance, it shouldn’t affect the sizing too much. However, if you want to make sure to get an accurate seam allowance, you can mark the seam line on the fabric with a washable fabric pen before attaching the bias tape.
To estimate how much bias tape you’ll need for a Tasi Jacket, add up:
How to use a Hong Kong finish with the Tasi Jacket
Step 1: Stitch shoulder seams and finish using Hong Kong finish.
Step 2: Stitch sleeves to body, starting and stopping 1/2” (or your chosen seam allowance) away from the beginning and end of the sleeve.
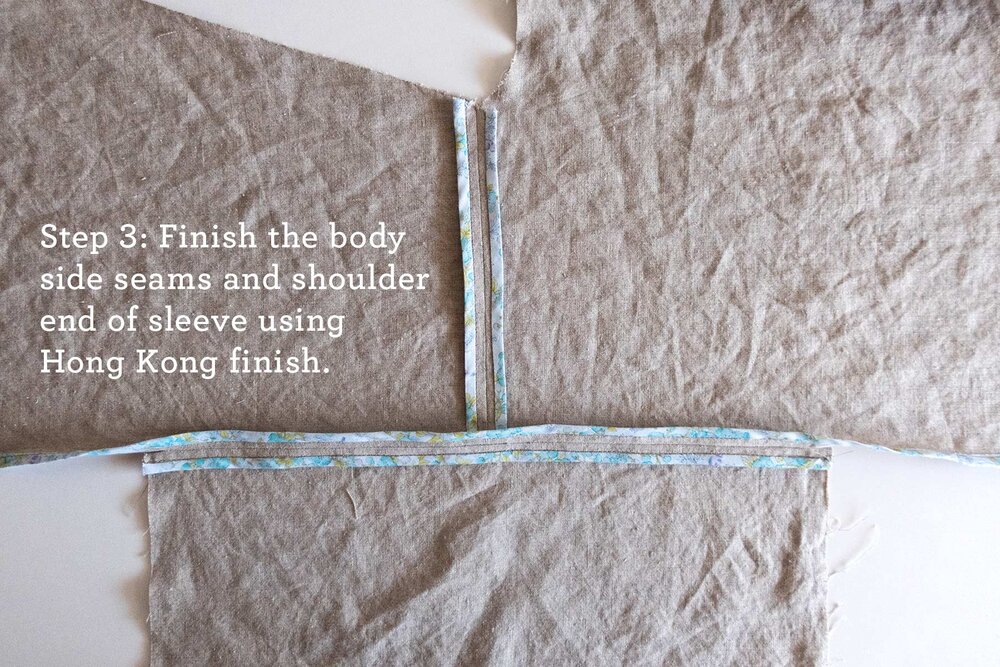

Step 3: Finish the body side seams and shoulder end of sleeve using Hong Kong finish.
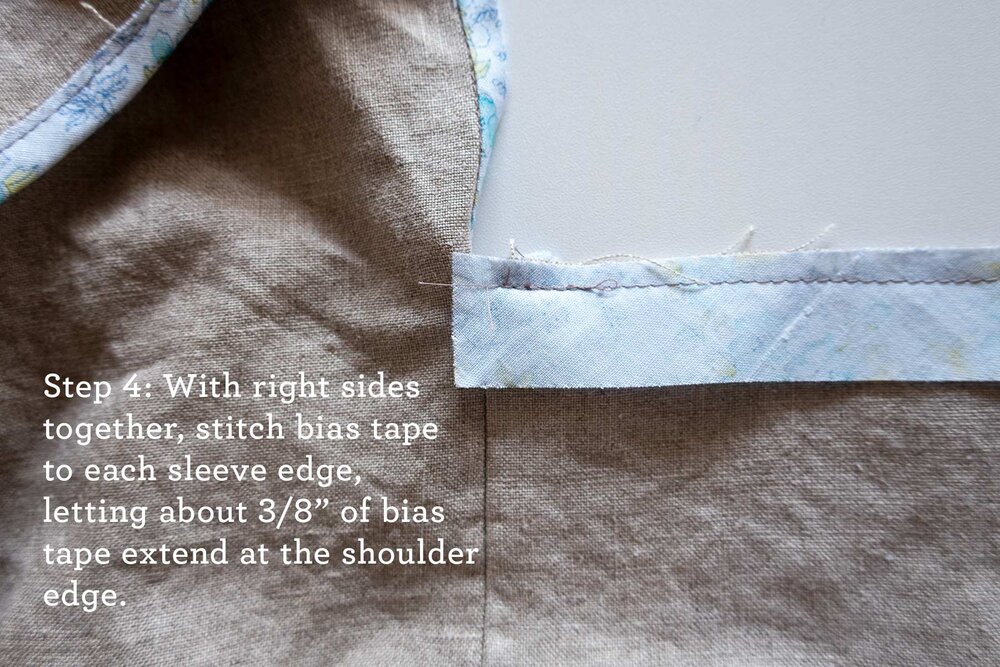

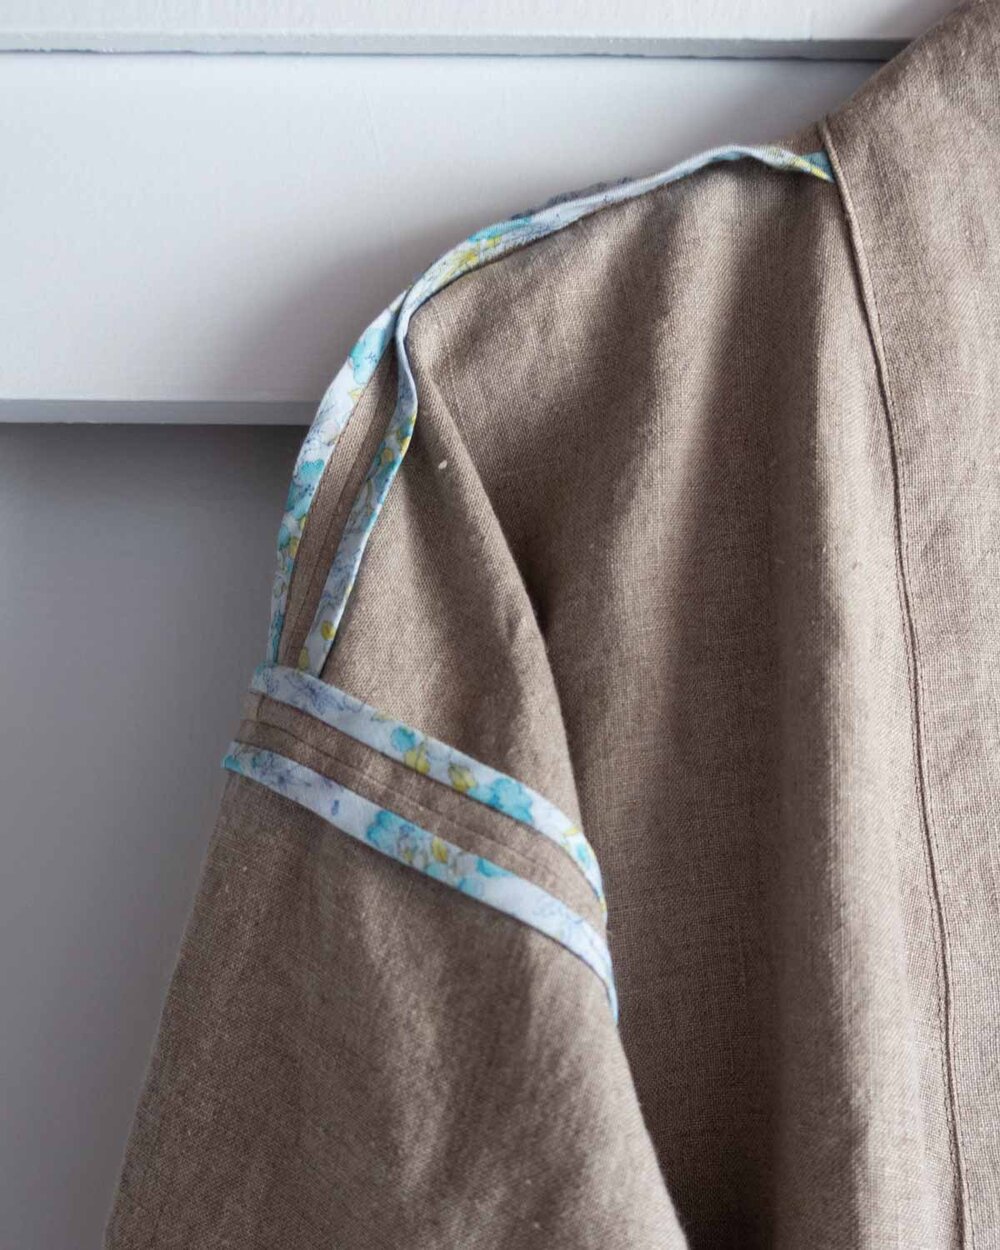
Step 4: Next we’ll want to finish the seam allowance of the underarms (the sides of the sleeve piece). With right sides together, stitch the bias tape to the seam allowance, leaving about 3/8” of bias tape hanging over the end of the sleeve that is by the shoulder.
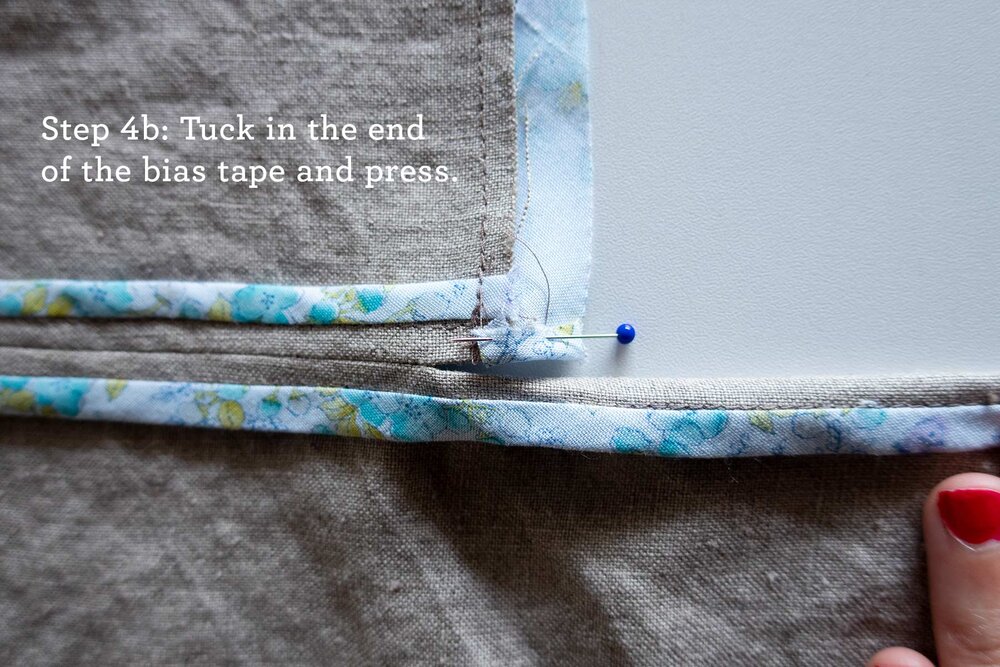
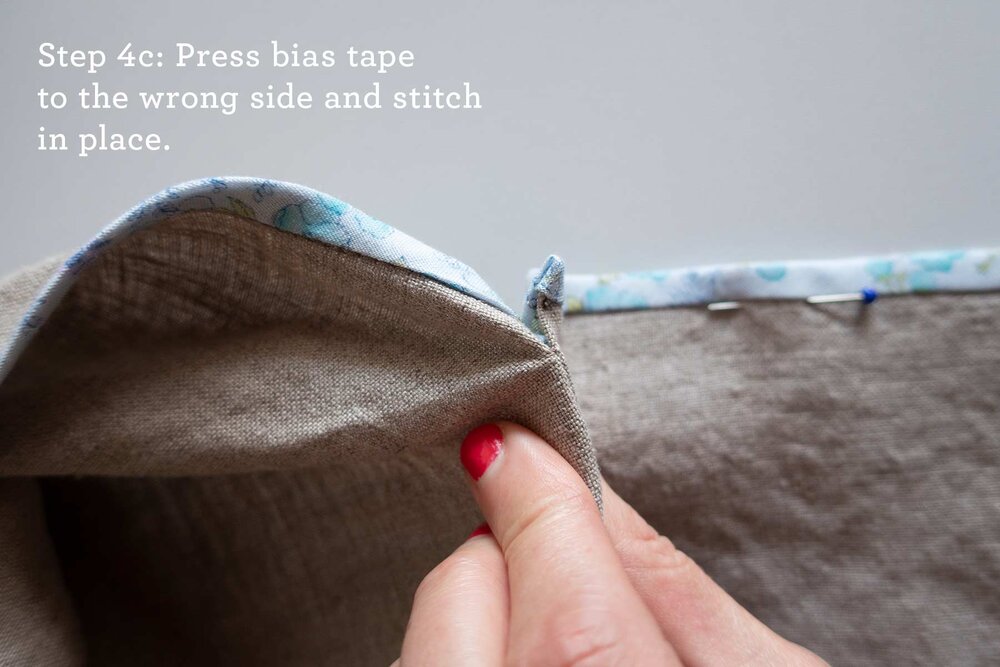
Press the bias tape to the wrong side and tuck the end of the bias tape in around the raw edge of fabric where the sleeve joins the body. Topstitch in place.
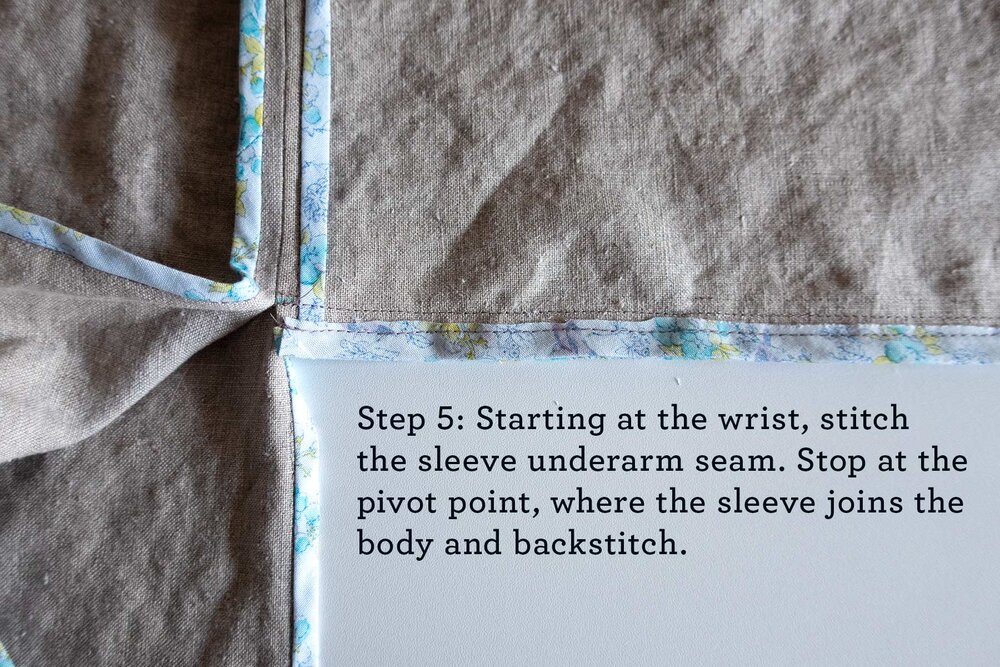
Step 5: Now we’ll stitch the underarm seam and side seam. These will be done separately to reduce bulk and we won’t stitch on top of any of the finished seam allowances. Using a washable marker or chalk, mark the pivot point at the underarm on both the body and the sleeve.
Starting at the wrist end of the sleeve, stitch the sleeve underarm seam. Stop at the pivot point, where the sleeve joins the body and backstitch.
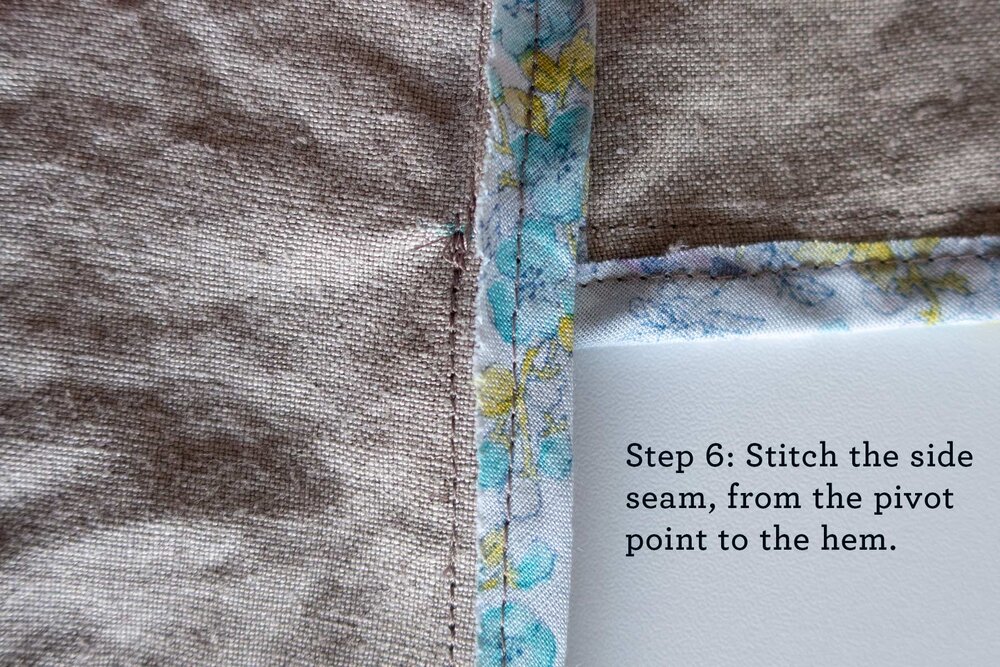
Step 6: Stitch the side seam of the body. It may be helpful to use your zipper foot and position the needle to the right to get closer to the pivot point. Hold the seam allowances out of the way and stitch from the pivot point to the hem, backstitching at each end.
 Tasi Robe and Jacket - A Draft-it-Yourself PDF Pattern
Add To Cart
Tasi Robe and Jacket - A Draft-it-Yourself PDF Pattern
Add To Cart
More about the Tasi Draft-it-Yourself Robe and Jacket:
This draft-it-yourself pattern will walk you through each step of designing and drafting your own custom fit pattern. You choose the proportions you’d like and we give you the formulas to draft all the pattern pieces. Because you’re starting from scratch, you can make this garment in any size you like for any human body. If you’re not up for doing the calculations yourself, or just want to double check the math, we’ve created a spreadsheet calculator that does the work for you.
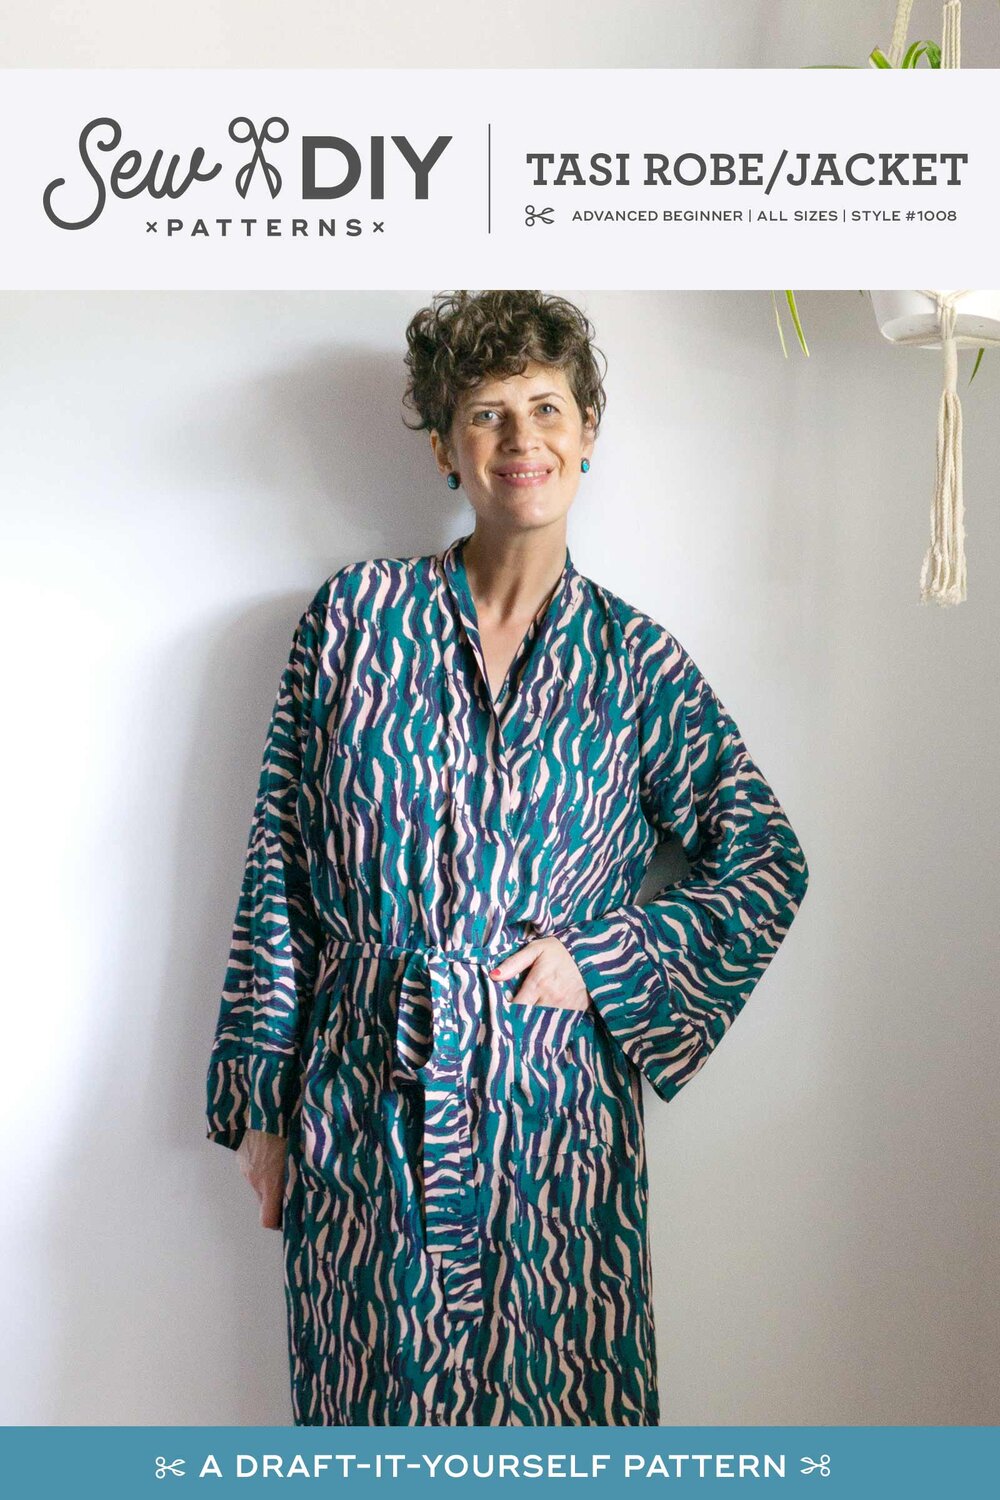
View A is a classic robe with patch pockets, a tie belt and carriers. View B is a casual jacket with turned back cuffs, oversized pockets and a hem band. It’s easy to adjust the design of this pattern to suit your personal preferences and we even give you a few ideas for ways you can customize and adapt this pattern.
For more help sewing the Tasi, check out the links below, or click here to go to the main Sewalong page. Some of the posts linked are from older sewalongs that use the same or similar techniques to this pattern. If you haven’t purchased the pattern yet, you can get your own copy in the shop. Happy sewing!