
The Best Science Experiments and Science Kits For Kids To Do At Home

With schools closing nationwide during the coronavirus quarantine, millions of parents find themselves, practically overnight, having to devise new ways to entertain, engage, and educate kids stuck at home. Few activities for kids better satisfy all three than these fun, easy science experiments for kids. If you want to simplify things even further, all you need to do is score some standout science kits for kids, which let them make slime or candy. Under supervision, of course.

Gifts to Say Thanks for Always Being There
Whether you can’t speak face to face with your mom on Mother’s Day or want to give the mother of your children something special this year, send her a gift to say thanks for always being there, even if you can’t be together. Pandora Jewelry is something she can wear to be reminded of exactly how much we appreciate her.
The Best DIY Science Experiments for Kids
Want to turn your home into a kid-friendly scientific laboratory? You don’t need bubbling beakers and centrifuges to produce cool at-home science experiments for kids. In fact, everything you need to help them feel like a tiny Nikolai Tesla or miniature Marie Curie is likely sitting in your home already. And we’re not just talking about the make-things-fizz genre of experiments. With a few simple ingredients, your kids can make everything from fake snot to invisible ink and actual lightning. They’re simple, educational, and a lot of fun. The best part? You don’t need a Ph.D. or particle accelerator.
Make Fake Snot

Similar to slime, fake snot is a great tool to have around the house for the purposes of … well, having fake snot around the house. Concocting your own nasty goo is a great way to get into some chemistry fundamentals with kitchen items.
What you’ll need:
- A cup
- A teaspoon
- A fork
- Boiling water
- Gelatin
- Corn syrup
Instructions:
- Fill half a cup with boiling water.
- Add three teaspoons of gelatin.
- Let the mixture soften, then stir it with a fork.
- Add a quarter of a cup of corn syrup.
- Stir the mixture again with the fork.
- As the mixture cools, slowly add more water, small amounts at a time.
Tip: For some particularly fun goo, add green food coloring to the mixture along with the corn syrup.
Turn Pennies Green

This experiment might just be the only useful thing pennies are good for. Pennies are mostly made of copper, meaning they’re susceptible to oxidation like other metals. Instead of rusting, though, with the right mixture, the coins can produce a blue-green substance known as malachite!
What You’ll Need:
- Pennies, duh
- Salt
- Vinegar
- Small tray
- Paper towels
Instructions:
- Soak a paper towel in vinegar and place it at the bottom of the tray.
- Place the pennies onto the paper towel.
- Sprinkle the pennies with salt.
- Like a long time. Seriously. The process can occur in as fast as a day or as long as two weeks.
- Voila! Over time, the vinegar and salt have dissolved the penny’s top layer of copper-oxide. The copper atoms mixed with oxygen in the air and chlorine in the salt to produce blue-green malachite!
Create Your Own Lightning

The lightning you see during storms is essentially just massive amounts of static electricity. You can safely replicate a similar effect at home by producing smaller amounts of charge, which is still pretty cool.
What You’ll Need:
- Inflated balloon
- Metal spoon (or any metal utensil)
Instructions
- You know the drill! Rub the inflated balloon vigorously on your head for two minutes.
- Turn the lights off or go into another dark room.
- Touch the metal spoon to the balloon.
- Watch the spark!
Make an Eggshell Disappear

Dissolving an eggshell is another easy activity with a longer wait but huge payoff: a rubbery, translucent egg!
What You’ll Need:
- Egg
- White vinegar
- Jar with lid
Instructions:
- Put the egg in the glass jar.
- Pour enough vinegar into the jar to completely cover the egg. Don’t worry if it floats at first, it’ll sink.
- Be sure to check out the carbon dioxide bubbles that quickly form on the eggshell!
- Tighten the lid, and leave the concoction for a few days to a week. You’ll know the egg is ready when the brown color of the shell has paled to a whiter hue.
- Remove the egg and carefully wash it under water to wipe away the shell, gently rubbing it as you do so.
- You’ll be left with a translucent, amber egg! The naked egg is squishy and bouncy almost like a ball, but be careful not to break it unless you’re in the mood for a bigger cleanup.
Invisible Ink

Turn your kid into a secret agent with this simple recipe to concoct invisible ink that only they know the trick to revealing.
What You’ll Need
- Half a lemon
- Water
- A spoon
- Bowl
- Cotton Q-tip
- White paper
- Lamp, or similar lightbulb
Instructions
- Squeeze lemon juice into the bowl.
- Add a few drops of water.
- Use the spoon to mix the water and lemon juice.
- Use the Q-tip as your pen. Dip it into the mixture and write a message on the paper.
- Wait for the juice to dry so you can’t read any of the message.
- To reveal the secret message, hold it close to the lightbulb to heat the paper.
The Best Science Kits for Kids
For parents who prefer the kind of science experiments that don’t require any prep, there are plenty of ready-made kits for purchase. Whether your kid is interested in making slime, learning about the science behind baking, or mixing things in authentic beakers, for-purchase kits can facilitate learning and fun.
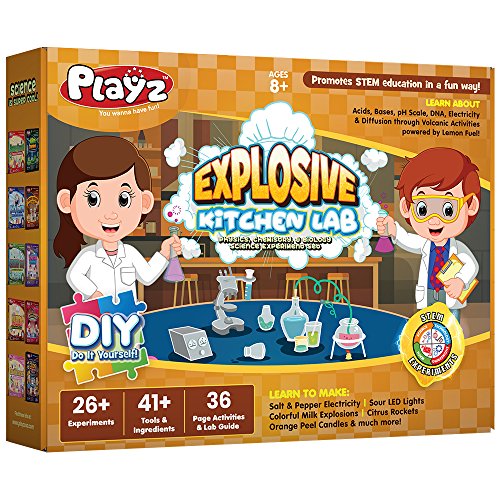
This science kit, for kids 8 and up, comes pre-loaded 26 experiments, 41 tools and ingredients, and a 36-page lab guide. Kids make citrus rockets, orange peel candies, and salt and pepper electricity. Seriously.
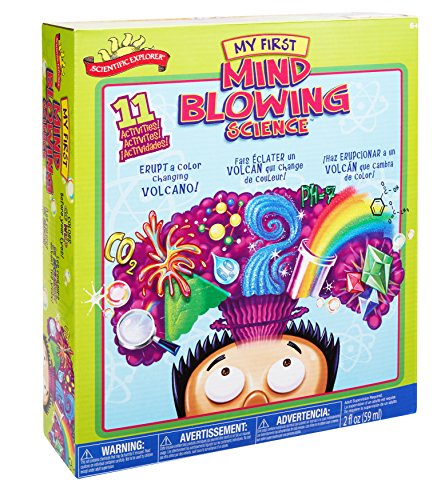
This 20-piece kit, for kids 6 and older, lets them learn about science basics and chemical reactions using cabbage powder, citric acid, baking soda, color tablets, vegetable oil, and corn starch. The set includes cotton swabs, test tubes, plastic cups, a pipette, and measuring scoops.
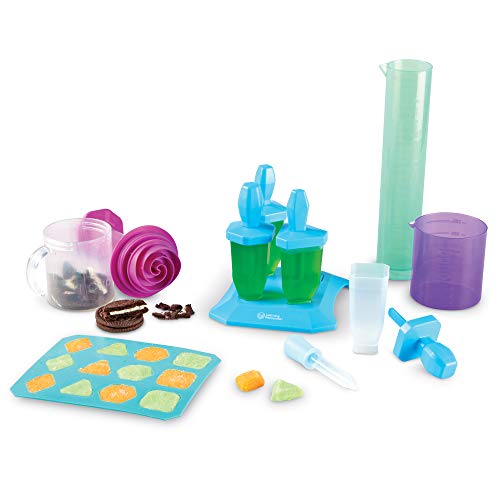
Kids 4 and older measure and mix ingredients to make their own ice pops, juices, and no-bake desserts. It's basically an edible math lesson. Bon appetit.
Another great kit for kids 4 and up, this one teaches them all about water. They learn about volume, buoyancy, and flow, and can use this near a sink for minimal mess. Towels not included.
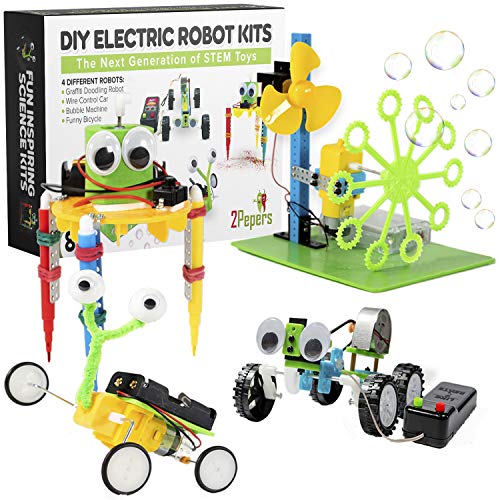
If your kid is into robotics, get them this kit, meant for kids 8 and up. Builders create four different things: A bubble machine, a graffiti doodling robot, a robotic car, and crazy bicycle. The kit includes a screwdriver sized precisely for small hands.

Kids 6 and older conduct a whopping 10 experiments with slime. They make four different kinds of slime, and then conduct viscosity tests, dissect it with tweezers and a plastic scalpel, cut out a brain shape, stamp it with an alien head, and add eyes. Because of course slime needs eyes.
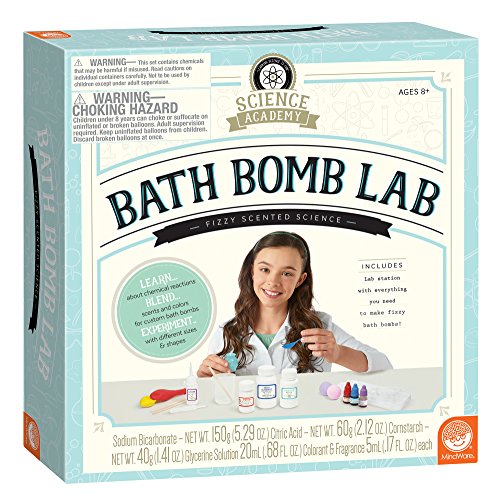
As you might have surmised, this kit lets intrepid scientists make their own bath bombs. Kids 8 and older decide on the sizes, colors and scents of the bath bombs of their dreams. They make them. They record their findings. And then, they bathe. Hooray!

Kids 9 and up get all the tools they need to design their own working pinball machine. It's one hell of a great physics lesson, too.
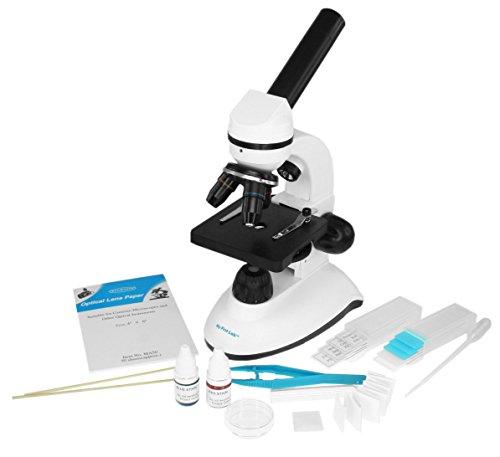
Every scientist needs the right tools. Hence, this microscope, for kids 9 and up. It comes with five plain slides, one concavity (well) slide, four prepared slides, a plastic dropper, slide labels, lens paper, and forceps. You want to watch science magic in action? Drop a speck of dirt onto a slide and let your child get up close and personal with it.
Parenting during a pandemic is hard.
Sign up for our daily newsletter full of tricks, tips, and relevant medical information.

Related Articles:
- Sour Patch Chips Ahoy? Sure, WTF EVER
- The 4 Best Bounce Houses for Hyper Kids
- Zoom Babysitters Are Here to Help Burnt Out Parents Get a Break
- Here Are the Updated COVID-19 Shopping Rules for Costco
The post The Best Science Experiments and Science Kits For Kids To Do At Home appeared first on Fatherly.